Showing posts with label Guides. Show all posts

Sunday, February 13, 2011

Renovation Meets Cupid

This weekend, between demolition of my brother's kitchen and painting his man cave, we made several trips to Home Depot and Lowes. I remembered an idea I had seen in various outlets online, and decided to pick up a few freebie paint samples to make some quick Valentines. I took my Alphabet stamp kit (last seen here) and used them to make cute cards for my loved ones. Here's the quick project:

Pick out the letters that you will be using. I decided on Xs's and O's to keep things simple, and I LOVE U for my husband's card.


 At Home Depot and Lowes, I found some great paint swatches with shades of pink and red that worked perfect for the cards.


Just stamp on the letters or message. I really liked that the 3 colors made three great lines for wording.  Since the paint swatches have a semi-gloss finish on them, I recommend letting the ink dry for a while before you put them on envelopes or hand them out. They tend to smear. You could also take a hair dryer to them if you need them in a jiffy.

Here are the completed cards:
How cute are they?! Took me a whole 5 minutes to do about 10 of them. I then took a permanent black pen and signed my name. You can use this idea for any kind of card in an entire paint section full of color options, and the best part, they're free.

Monday, January 3, 2011

Happy New Year 2011 and Hostess Tip #3

HAPPY NEW YEAR!

With the end of 2010, we start what I feel will be an interesting year for 2011. My husband and I were talking last night about New Year's resolutions, to which I replied that I don't make any. I'm not trying to be pessimistic or dispirited, but years ago, the only resolution I ever made was to "be true to thyself".

In that spirit, I am not going to make resolutions that I know I can't keep for a whole year. Everyone always says they will drink less, eat better, work out more. Sure, I am going to try those things, but I am not going to kill myself if I throw a party and have a few too many glasses of wine.

So with the beginning of 2011, I bring you Hostess Tip #3: Be True to Thyself. In life, this is a given. You're only cheating YOU if you lie to yourself. This doesn't mean that you can't strive to be more or better, but know where you are right here and now, and what you are capable of. Life will be so much easier if you know YOU.

The same rule applies for many things, parties and celebrations included. Don't put on such a big production that you are so stressed out even before the party starts. Don't try new, complicated recipes the day of a big party, because you are asking for disaster. Don't try to overextend yourself on details that matter to no one but yourself. Know what you are capable of and what you are willing to say "to heck with" by the time guests arrive. Parties, dinners and celebrations, believe it or not, are supposed to be stress-free. The hostess cannot be frazzled when she opens the door.

In keeping with my mantra, be true to thyself,  in the past, I admit I have been the frazzled hostess. I have taken on too much and not given myself a chance to relax and enjoy the occasion. But lately, I do just enough to be "The Hostess" without all the stress. And this year, I turn the big 3-0, and instead of throwing a party for 100 people like I did 2 years ago for my husband (talk about frazzled... It rained 30 minutes before the party started, and it was a lawn-game themed party! Can you fit 100 people in your house?!), I think I am going to go the stress-free route and do nothing. Well, not nothing.... maybe get out of town, or have a quiet night in. I may have a few parties planned throughout the year, but the big 30 will be stress and Hostess free. Talk about an interesting year....

Best Wishes in 2011!

Monday, December 20, 2010

DIY: Sequin Ball Earrings

A frequent visitor to the Martha Stewart site, I always look at her homemade gift ideas for the holidays. I always have a DIY party favor for guests at an annual dinner with some girl friends. I loved her Sequin Ball Earrings (at right), but after reading the directions, it seemed a bit difficult with the whole chain drop and making the sequin ball.

However, after perusing Pier 1 for another gift, I came across these Sequin Spheres for $5 a box! I loved that they came in three festive colors, and that there were 30 balls in the box, which could make 15 pairs of earrings.  This was one easy solution to the problems I had with Martha's how-to! So off to the craft store for the rest of the supplies needed to make the earrings.


I purchased gold plated hooks and gold head pins to feed through the balls and attach to the earring hooks. I also used jewelry pliers that I already owned to help bend the wires. I think the entire project cost me under $10. Here is the step by step how-to make the sequin ball earrings:


Step 1:
Set out your supplies by pair, so you make sure you have enough of each. You need two sequin balls, two hooks, and two head pins.
Step 2:
Feed one head pin through the sequin ball. The middle of the ball is styrofoam, so it it easy to press the pin through. Try not to force it, as the pin bends easily and you want to keep it as straight as possible before the next steps.

Step 3:
Push the head pin all the way through the ball until the head is flush with the bottom. Be sure not to push too hard that the head actually goes into the ball. You want it to remain outside of the sequins.

It should look like this when you have it through.
Step 4:
Feed the hook onto the head pin.
Step 5:
Clamp the hook and head pin with one set of pliers and hold in place while performing Step 6, below.

Step 6:
With a second set of pliers, grab the end of the head pin and bend it in half to form a loop. Obviously, I could not take a picture of the pliers bending the wire, as I needed both hands, so here is what it should look like after you bend it. 

Step 7:
Continue to use both sets of pliers to bend the pin around the stem of the loop to secure it in place, until the entire pin is curled around the loop.
Step 8:
Repeat all steps above for second earring. Voila! You have a pair!
I really love how they came out and in such festive colors. I wrapped them up in little boxes and randomly set them at each place setting. It was fun to see which guest got what color! And I kept a gold pair for myself that I will be wearing year round for that party perfect sparkle!

Thursday, October 28, 2010

Dazzling Mini Pumpkins

So I did not get to my pumpkin carving last night, but I did do a pumpkin project that is just as cute: Dazzling Mini Pumpkins!


This project can be super easy or super hard, depending on how intricate you want to get. It does take a little bit of time, but can be done by adults and kids of all ages. 

Start with mini pumpkins, or in this case, I used white marbled gourds sold in a pack of 3 for $2. I purchased self adhesive round rhinestones and elongated black beads at Joanns, as well as some superglue for this project. The round self adhesive rhinestones were easy to work with (no glue needed!), but I did find myself tired of peeling off the paper from such tiny things.  They easily made cute dots and letters. I made up the font of my letters, but yo could put in a little extra effort to find one you like online and try to replicate it.

The elongated black beads were much easier to work with to make the lined pumpkin, but needed to be glued on. I chose super glue so that they would stick and stay immediately. However, this is not recommended for children. My suggestion would be to use a craft glue and maybe bead the top half, wait for it to dry, and then flip it over and bead the bottom half.
You could certainly buy larger rhinestones and decorate a larger pumpkin too. I just love the little ones, and this great project is not only for Halloween, but can be left around the house through Fall!

Wednesday, October 27, 2010

Pumpkin Carving

Tonight I am carving my pumpkin. It is not as big, or will be as lavish, as some I have done in the past, but the pastime of pumpkin carving is one I have to do year after year.

If you have never carved a pumpkin, or need some tips, Martha Stewart has a great tutorial here. Or for an easier reference, you can go to my post last year on Last Minute Pumpkin Carving Tips.

Wish me luck that I make a good one this year (photos to come!). Good luck with your pumpkins!!!

How To Be Scary

My college roommate Jennifer Valdez is a meteorologist and special events reporter in Atlanta. This morning, she sent me a hilarious video with some good points on how to be scary this Halloween. Click the picture or link below to see the video!


Monday, August 30, 2010

Genius!

Ever have some angry clients at work ruining your day, being stuck in rush hour traffic that takes you 2 hours to get home, or getting into the 10 items or less lane at the grocery store, only to find an old lady there with an entire cart full? Its just one of those days, when all you want to is go home, relax, and pour yourself a glass of wine.

Except....You can't find the darn wine opener.

No fear- someone (in France, of course!) has found a way to prevent utter desperation and depression and get to the wine. Simply use a shoe and a concrete wall to open that wine bottle.

Genius, I say!

Wednesday, August 4, 2010

Blackboard Eats

Dinner reservations to Camino with dinner at 30% off= UNAVAILABLE

Why?

I am no longer in San Francisco. :(

Unless you live in the most fantastic culinary cities in the country (New York, LA, or San Francisco), you can find unbelievable restaurant deals every Wednesday from a great new site called Blackboard Eats. If you live anywhere but here, you can still take advantage of Blackboard Eats* everywhere else by ordering food and drink products right to your door. They also advertise for other great deals around your city, and around the blogosphere. Check them out!

*I do not work for Blackboard Eats, nor do I get paid for this post. I just like their concept and their products.

Monday, August 2, 2010

Napa & San Francisco

We took a little vacation this summer.... an important one, in fact: Our Honeymoon. I know what you're thinking.... we have been married for a year and a half. But the truth of it is, we couldn't go anywhere after our wedding, due to some work training and other friends' weddings. So we decided to take it this summer. We still told people it was a delayed honeymoon, since we got married in January... of LAST year (we left out that minor detail). So off to California we go!

Napa Valley and a little town called Yountville were our first stops. The grapes and vines were in full bloom, and the countryside was so lush.

We went to several vineyards: Silver Oak, Grgich Hills, Merryvale, and Cakebread. All were so beautiful and it was so cool to learn about how they cultivate and age their grapes, and end up with such delicious wines. We tried lots of different types of wines, even though the standard Cabernet Sauvignon is our go-to wine. We may have even come home with some bottles, to open only for special occasions.

Napa Valley is not just about wine though. The food there is equally amazing. We went to Ristorante Tra Vigne, a recommendation from some friends, and I have to say that their fresh mozzarella changed my life! They make it on site, and it had just been pulled out of pasteurization that day. Then they place it in a small bowl with a little fresh olive oil, and warm it up just enough. They bring it to your table and slice it for you, and then you spread it over their freshly baked and toasted sourdough bread. It is HEAVEN! Here's me with what was left of it:


We also went to Mustard's Grill for dinner.... I had their famous Mongolian Pork Chop, which was delicious. However, my husband got the New York Strip, which was even more amazing!! Lets just say, we didn't leave hungry!

Our next stop on our trip was on our way to Monterrey/Carmel. Fifteen years ago, when I was last in California, my family stopped in a little town called Gilroy, the "Garlic Capital of the World", and tried some amazing garlic delicacies. So on our trip this year, we happened to be in time for their Annual Gilroy Garlic Festival. I insisted that we go. While it was ten times as large as any festival we have here in Florida in all its craziness, it was definitely a great experience. I made my husband try Garlic Ice Cream (I have had it before and liked it a lot!), since he is a hugs ice cream lover. Here he is, trying the Praline Pecan Garlic Ice Cream:

It was pretty delicious, but we wish we had ordered it like seasoned festival-goers scooped into half of a cantaloupe. A new idea for summer!!!

After Monterrey/Carmel, we drove up Big Sur and Highway 1 up the coast of California to our last destination: San Francisco. There, we saw the redwoods at Muir Woods, took a tour of Alcatraz, and hung out with the sea lions at Fisherman's Wharf.


There were also so many great restaurants, but here were our favorites:


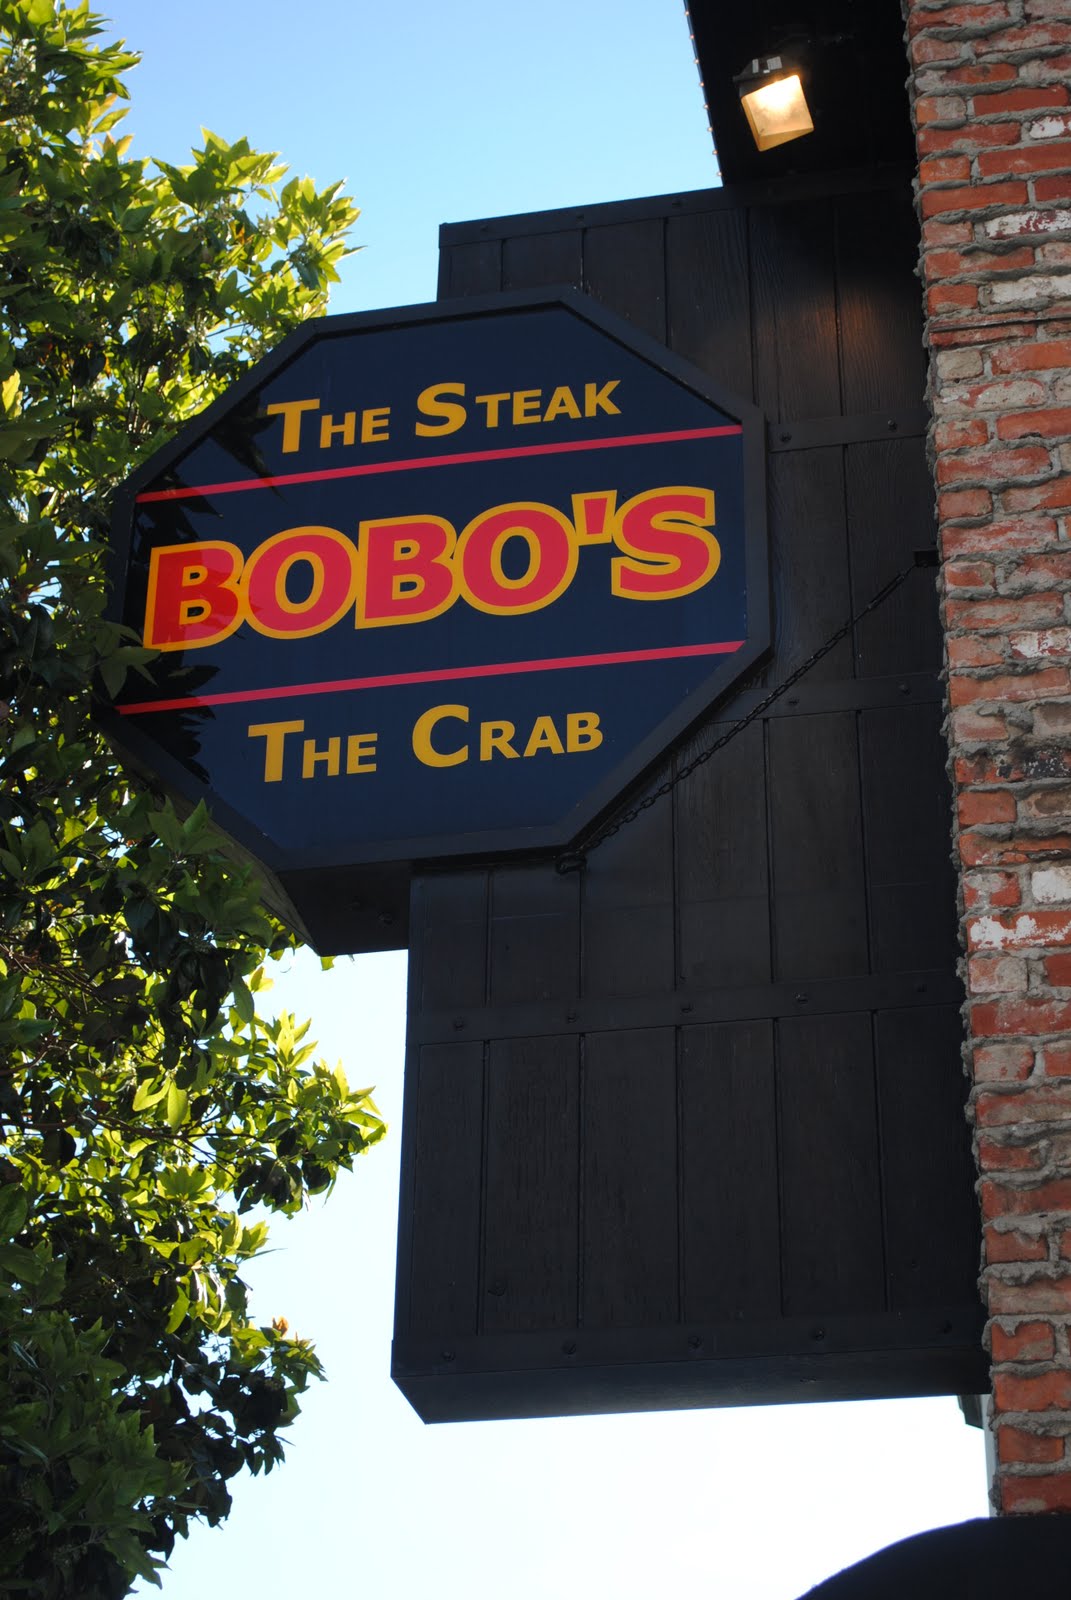
Bobo's: The Steak, The Crab. This restaurant certainly lives up to its name. We met some of our California friends at their favorite steak joint on Lombard Street. They have a bone-in filet mignon that is out of this world, and with an iron skillet roasted mussels, crab, and shrimp combo to start with, they made the restaurant live up to its name. Their sides are served family style, with amazing pancetta brussel sprouts and a twice baked potato the size of my arm. While it is not the most well-known or popular restaurant in San Francisco, it is definitely one not to miss!


Our last stop before heading home was Scoma's seafood restaurant on the Wharf. While it doesn't have the best view, it does have some of the freshest seafood right off the dock! Order the LazyMan's Cioppino for a real treat (recipe to follow).

Between the wine, restaurants, and amazing sights, our honeymoon was certainly worth the wait!

Thursday, March 25, 2010

What Kind of Hostess Are You and FTH Giveaway #3

All Hostesses are different.

I am the kind to prepare a menu far in advance, have candles lit around the house, music playing to complement the party theme, and wine flowing before guests arrive. The bathroom is cleaner than it has been all month, and anything that I didn't have time to properly put away has been stashed into the few closets even nosy guests won't peek. And if it isn't ready by the time guests arrive, I take a sip of wine, put on my best face, and say "forget it!", and continue on with the party as planned. The guests will never know I didn't have time to make that last amazing dessert.

Apparently, according to this fun quiz from the guru herself, Martha Stewart,

What Kind of Hostess Are You?

the correct terminology for what I am is a "Hostess Inspired By Martha". I should have guessed... I am always striving for her party perfection. What kind of Hostess are you? Take the quiz to find out!

And for our FTH Giveaway #3, click here to see what EVERY kind of Hostess needs on hand for any event!

Friday, October 30, 2009

Last Minute Pumpkin Carving Tips


If you are like me and waited until the last minute this year to carve your pumpkin, then I have some last minute tips on things to remember:
1. Take your time with this process.... knife safety is very important. Cut slow and watch where you place your hands.
2. Using a sharp serrated knife, carve a hole in your pumpkin, preferably at the top, making a wide circle around the stem.
3. Next, scoop out the guts of the pumpkin. I find that a grapefruit spoon works best to get the inside nice and smooth.
4. Place the pulp and seeds in a bowl for later (see below).
5. It's design time! Trace your design, or draw one from scratch on the face of the pumpkin with a pencil.
6. Carefully, use the serrated knife to cut along the lines of your design, being sure to cut all the way through your pumpkin, unless the design requires you to do something different.
7. Get a small votive candle in a glass jar, and place it inside your pumpkin. Remember to not leave candles unattended.
8. Place your Jack-o-lantern in a place for all to see and celebrate Halloween!

Roasted Pumpkin Seeds
Take the pulp and seeds left over, and with your hands, pull the seeds off the pulp, and put them into a colander in your sink. With warm water, use your hands to rinse the seeds and remove all the pulp. Next, take wet seeds and lay them out on several paper towels or kitchen towels and pat until dry. Preheat your oven to 350 degrees, and spray a large cookie sheet with cooking spray. Once the seeds are dry, spread them out evenly on the cookie sheet. I like to spray the top of the seeds with a little cooking spray as well, and season with salt and a little pepper. Bake for 15 minutes, and then using a spatula or tongs, flip as many seeds as you can. You just want them all to cook evenly. Continue roasting for another 15 minutes until golden brown.
I sometimes like to spice them up. Instead of salt and pepper, I use Tony Chachere's Creole Seasoning. You can also make them sweet and savoy by substituting sugar and dashes of cinnamon and nutmeg. Enjoy!

Wednesday, August 19, 2009

How To Set A Table

I received an e-mail today from Martha Stewart on how to set a table, which reminded me that this information probably should have been one of my first posts, since it is such a basic lesson in hostessing. Having learned how to set a table back in my cotillion days, I feel it is important for everyone to know how to properly do so, and there are many good hostesses out there who are clueless. It isn't hard to learn, so here's a quick diagram guide (click on image to enlarge):
Of course, depending on the function, you can certainly add or subtract pieces. Like for instance, if you are not serving soup but are serving an appetizer, eliminate the bowl, and replace with an appetizer or salad plate. You can also be less formal and place the silverware on the napkin. This model is only a guide and totally adaptable to your own dinner party. Just be sure to put the forks on the left, and the knives and spoons on the right. Simple and easy, and if nothing else goes right throughout your event, at least you set the table properly like a good Hostess!

You can also check out the Martha Stewart in-depth version here.

SHOP