Showing posts with label Decor. Show all posts

Thursday, May 24, 2012

Pillow Progress!

In just a few days, I found a pillow that works in Baby D's crib, as originally wanted in this list from the Nursery Reveal:

There are just a few details left I want to do to make it 100% complete:
-Find some artwork for over the twin bed
-Find a cute pillow for the crib (which I will take out when she sleeps so we don't give her any suffocation hazards - more on SIDS here)
-Frame some vintage photos of our parents and grandparents when they were children for the room


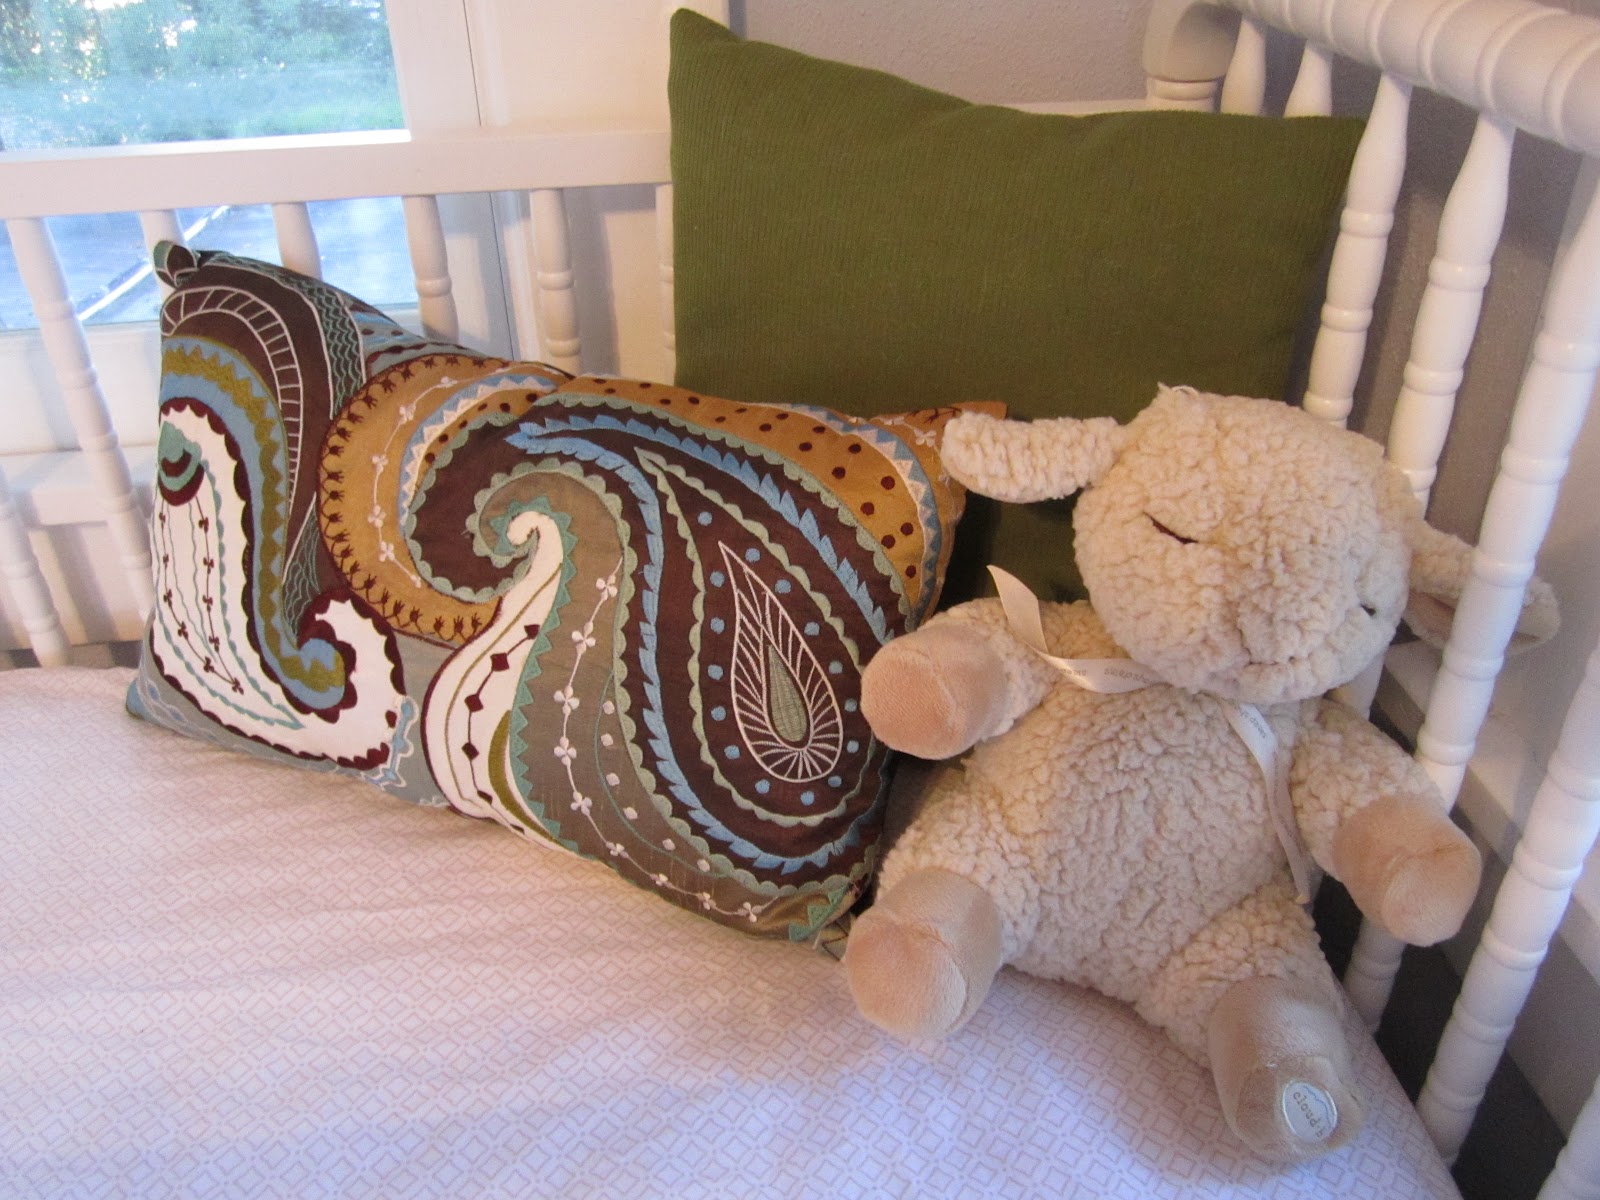
I have looked everywhere online and in stores for a pillow that matches the blue, green, and brown tones of the room and rug that we reused from our last guest room. And let me tell you, it is not easy to match tones of moss green, turquoise blue and medium brown! So after much frustration, I went back to Pier 1 where I originally bought the rug years ago. They just got in some new pillows, and I bought three different ones, hoping that one would match. We tried them all out, and added the green solid throw pillow from the twin bed and her Sleep Sheep, and the brown one looked best!


And a nursery bonus! My sweet husband surprised me with a new hippo addition to Baby D's nursery. There are lots of cool vintage hippos on Etsy, and she was my favorite! I named her Rosebud...


She is large and ceramic, and I absolutely love her!  I think I am going to give her a green bow instead of orange, so she matches the nursery a little better. I only hope Baby D loves her too!

Monday, May 21, 2012

Nursery Reveal

I think I am 99.9% done with the nursery for Baby D, and have had multiple requests for photos. Since we are still living with the in-laws until we find a house of our own, we took over a small bedroom with no closet, but lots of natural light for Baby D's nursery. Even though Baby D is a girl, I kept things neutral using furniture and accents we already owned in green, turquoise and brown tones. Someday, when we buy a new house, her new nursery will be completely different, but I am really happy with the way things turned out for now.

Here is the nursery from the doorway:


Changing table, using an antique chest topped with a changing pad and necessities:


A closer view. The changing table pad is covered with a Cocalo cover, and we secured it to the back of the chest as directed with two screws. I picked up the green bin at Target (similar here) to hold the necessities for diaper changing- wipes, Butt Paste, and anti-bacterial gel. It matches other large bins we have for storage. And check out the cute mushroom night light that gives off the perfect glow for nighttime feedings and changings.


Inside the chest I have the top drawers organized with one with a linen caddy for more necessities...


And one full of diapers.


The second drawer is  for sleep sacks, swaddle blankets, changing pad covers, and miscellaneous items.


The crib (I will have better shots later once I add a little better decoration) is the DaVinci Jenny Lind crib in white. I love the vintage feel and look of it! The bed skirt was a hard find from eBay. It is the since discontinued Dwell Studio for Target skirt in blue, which matched the turquoise in the rug perfectly. I bought it new. The green chevron bins are also from Target and match the small bin on the changing table. I got one as part of a baby gift, and picked up another for more storage. One holds towels, soap and toys for bath time, and the other holds miscellaneous items like the Bumbo tray and grocery cart covers. I made the chalk board tags using ribbon, Chalk Board ConTact paper, and wooden hippos from Michaels (seen here on the diaper cake, but since these are in a scrapbook, I bought more). Luckily, because the crib mattress is up high for a newborn, there is plenty of storage underneath for extra boxes of diapers and wipes too!


Across the room from the changing table is a dresser, which you saw a preview of here.  The lamp was in our old guest room and was originally from HomeGoods for $35. You will also see the monitor mounted on the top of the dresser. It needs to be turned a bit, since we moved the crib, but with the height of the mirror, it sits at a perfect vantage point to the crib.


On all three sides of the room are great shelves above the windows. Over the crib, we have my parenting baby books, along with nursery rhymes and a few accessories. I love my brass piggy bank hanging out with the Barnyard Animals finger puppets, not to mention the hippo rocking toy and purple "wedding fund" piggy bank. 


The other window is a bit dark, but has some fantastic books, dolls, and a vintage Snoopy pull toy that I love! In case you didn't pick up on it, the room has three walls of windows, but I only showed two shelves. The third one, over the rocker and changing table, actually has letters of Baby D's name and her collection of hippos. You'll have to wait until she is born for the big reveal!


The rocking chair actually belonged to my husband's great great grandmother, and I love how it matches so perfectly! I just hope Baby D doesn't spit up all over it!!!


In the corner we have some more of my favorite books on an antique round table, with a photo of us and Maybee (our furry child). Also is a piggy bank (the "fashion fund") and a plush hippo. I am also in love with the 3 Sprouts hippo bin that holds all her toys and plush animals. It is so cute!!


Above the table is a piece of canvas art that was found and given to me by my friend Amy. She saw something similar on my Pinterest board, and it is just perfect in the corner of the room!


 The room already had a twin bed in it, which I think is perfect for those fussy late nights where momma will need to be close. I used linens and pillows I had from our last guest room that matched the rug. I picked up the hamper from Target and attached another hippo chalk board tag on it.


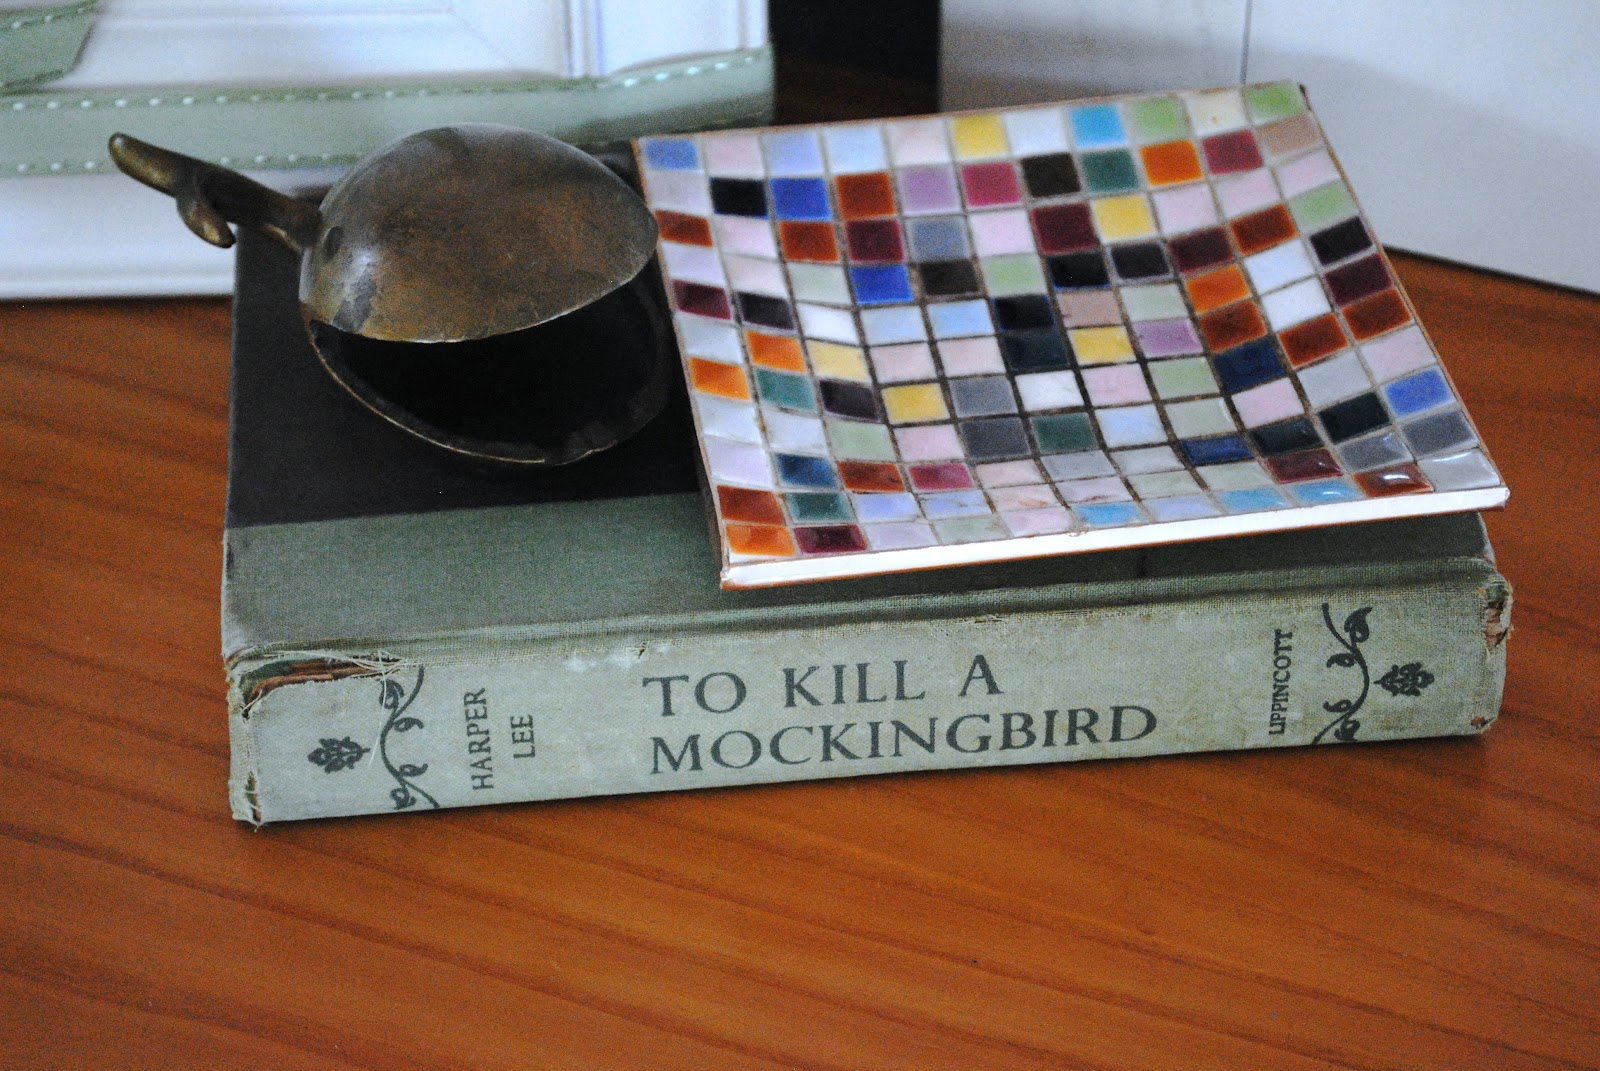
Lastly, on the dresser is a framed paper cutout hippo that my mother made (amazing!), one of my favorite childhood books in its first year of print (gifted from my grandmother), a mosaic catch all dish, and a brass whale we found at an antique market. 


There are just a few details left I want to do to make it 100% complete:
-Find some artwork for over the twin bed
-Find a cute pillow for the crib (which I will take out when she sleeps so we don't give her any suffocation hazards - more on SIDS here)
-Frame some vintage photos of our parents and grandparents when they were children for the room

And another safety note.... all of the shades are adjusted so that Baby D cannot get caught in any of the pull strings. As a newborn, she won't be able to reach them anyway, but I took precautions just in case. There is a lot of natural light into this room, but if you pull the shades all the way down, it does give a bit of darkness for her daytime naps. At night, it is very dark and peaceful.


Other than buying the crib and bedding, I think we did pretty well on making a nice nursery room out of things we already owned. It is pretty serene and accommodating, and we have really maximized the use of space. Thanks for visiting!!!

Thursday, January 5, 2012

2012 Decor

There is something about Christmas decor that makes me really warm and cheery. Having to take it down is really depressing for me every year, so when I do get to it New Years Day, I also try to substitute some sparkly decor for the New Year and our January wedding anniversary, just to liven my spirits. 

Using items I had around the house, I  came up with these small but happy additions:

This one is not really an addition, but rather a subtraction. I just took off the red table cloth, but left the Candlewick and dollar store gold and silver ornaments. See the Christmas theme here. 


Next, in our living room, I pulled out the teal vases, as well as some dollar store ornaments, and glittery garland to make a festive centerpiece in my vintage brass tray on the coffee table.


I added two bouquets of fresh flowers for $10 from the grocery store. I wanted all white flowers, but they mostly had Christmas bouquets left, so I will get white flowers when these die in a week.


Outside, I put up our Happy New Year flag that I bought last year at a garage sale for $3. I actually bought a couple of flags for different occasions, all around $2-$3 each. Normally in stores, giant flags are around $20-$25, which is why I look at garage sales for good ones on the cheap.


I also put back up my all-occasion wreath, that we also got at a church flea market for $1. I decorate it throughout the year with different bows, or props for certain party decor (remember the hatch?). With some glittery wire ribbon and a leftover ornament from a Christmas gift, I created a giant bow with a little finesse. I actually really loves how it sparkles, and color coordinates with both the flag and indoor table decorations!


Do you decorate for the New Year?

Friday, December 16, 2011

Update to Holiday Decor

Just a quick update to our mantel decor. This past weekend, my husband's grandmother was giving all of her Christmas decor and ornaments to her grandkids, since it is to laboring to put it up every year. Among the boxes, I found four Danish-looking wood reindeer in all different sizes that would compliment my reindeer fireplace and mantle. Check them out:


Aren't they cute? I just love them, and their size is perfect. Here you can see them with the whole setup:


And since we finally got the lights and wreaths up on the outside, here is a glowing shot of the house:


Wrapping up my shopping and wrapping this weekend. Are you ready for Christmas?

Wednesday, December 7, 2011

Easy Table Decor

I had a really hard time this year decorating my dining room table for Christmas. I have done really cute things in the past. The truth of it is, I was a little tired of my decorations, and I am trying to keep things simple, since our house is on the market.


Rather than spending a fortune on new decorations that I didn't love, I decided to use gold and silver ornaments and garland from the dollar store to add a shimmery touch to the table. I bought about 8 sets of 7-12 ornaments in silver and gold, including some with glitter to give a little sparkle.


First, I draped one length of garland around the chandelier. Before:


After, with a little more shimmer:


Then, I used some ornament hooks to add ornaments to hang from the bottom of the garland.


Next, I pulled out several vintage brass and silver pieces for the table centerpiece to hold the rest of the ornaments, but decided on my antique Candlewick glassware, since I love how the round ornaments mimic the glass beading on the edges of the Candlewick.

I first set the table using a red herringbone Ralph Lauren table cloth from HomeGoods (I think it was $10 when I bought it two years ago), and a gold-ish geometric table runner that I believe is Thomas O'Brien for Target, purchased many many years ago. I like that it is a little muted, and I actually use this runner throughout the year. 


I pulled out the Candlewick cake stand, 4 footed fluted bowl, and small bowl to use for the ornaments. I just kind of piled the larger ones on the cake stand, the medium and small ones in the two bowls, and tried to keep an even mix of silver and gold ornaments.


I also added red taper candles to my Candlewick candlesticks, just to complete the table. 


Here's how it all looks together:


I love how it is simple but festive, and I love using my Candlewick this time of the year, since my grandmother always used the set for our entire family for Christmas dinner. After they stopped hosting Christmas, all three of the granddaughters got to split up the set, so I now have place settings, glasses, and serving ware for 8+. What a lucky girl I am!

What are some of your favorite decorations?

Monday, November 21, 2011

Impromptu Dinner Party

Last night we had our families over for dinner, and for the first time in the 4 years we have been in our house, we decided to do dinner outside. I have always wanted to have a beautiful dinner party on our patio, but in Florida, 90% of the time, the nights are humid and buggy. But last night was a perfect night and we had many reasons to be thankful to all be together.


With an hour to set up, I first brought out our two 6' folding tables, that we got at a Black Friday deal last year for $29 each, and our 8 folding chairs that we use ALL THE TIME for various get togethers.  To round out the seating for our 11 guests, we used our wicker bench (found for free in an alley behind our house) and our desk chair with pillow.

Next, I covered the tables with two green Ralph Lauren tablecloths that I bought at HomeGoods 6 years ago for $7 each. They are used pretty much every Christmas (I now have red ones too!) and every holiday in between. Green is actually a neutral color, so they go with everything and every occasion! Don't judge me, the hostess did not have time to iron them. But in an hours time, most of the wrinkles had fallen out, and because it got dark before guests arrived, I didn't worry about it. Typically, I would iron them, or wash them and take them straight out of the dryer. Quick Tip: If in a pinch, use some Downy Wrinkle Releaser on them as they lay on the table and smooth some of the wrinkles out with your hand.


The napkins I bought on super clearance years ago too at Bed Bath and Beyond. They are a brown polished cotton, and I got all 12 for $6 (thats 50 cents each!).  The flatware is a special fun set that I bring out occasionally from Neiman Marcus. I purchased it on sale, but even at regular price it is a good deal for 12 placesettings ($105!).


The stick table runner is a few years old from Plum Party, but you can find a similar one here or here. Sicne it gets dark right around 6pm when we were having people over, I decided to light up the table with lots of candles. My husband thought it was a little too romantic for what we needed, as we were only cooking hamburgers and hot dogs, but I still loved it. I gathered all the glass Waterford and antique bowls that I never used, and several little glass candle holders and filled them with water and floating candles from IKEA, and citronella tea lights from Pier 1. The 'D' pewter napkin rings were from our wedding registry at Williams Sonoma, and match our everyday flatware, also from our registry.


As the sun was setting, we turned on the globe twinkle lights around our yard (which are up all year), and started a lovely dinner. I think it came out pretty perfect for being thrown together in an hour.


Check back this week for a few last minute tips for Thanksgiving! Happy Turkey Week!

Monday, October 10, 2011

Halloween Decor

Halloween is one of my most favorite holidays. Don't get me wrong, I cry after Christmas decorations are taken down, but Halloween decor is just a little more fun. I had to scale it back since our home is on the market, but I still put out some of my favorites. Take a look:

In the dining room, I used the orange material from our UF Football parties as the tablecloth. I then added the spider runners to both the table and buffet. They are from Pier 1 and I bought them last year on clearance for $5 each.The spider candle holder in the middle I found at Ross for $5 this year, and the orange glitter candles I found at Michael's, and bought with a 40% off coupon.

The back BOO wooden sign, black wrought iron candlesticks, and the spooky candle tree were all hand me downs from my mother's vast Halloween decor collection.

In my front living room, I have more of a harvest feel, since I leave most of these decorations up through Thanksgiving in November.


My favorite decorations are the light up pumpkin and gourd I bought years ago at Pier 1. You can sometimes find them around Halloween, but each store usually only gets one or two. My mother loved mine so much, she bought the same two for her house! They are just cheery and whimsical, and get me ready for Christmas lights!


This sign is a little country for me, but I found it at HomeGoods and it pretty sums up how I feel about Halloween. It should be fun and a little spooky at the same time.  I think I paid about $7 for the sign, and I bought the garland for the mantle there as well, for about $10 or less.


Halloween decor does not have to cost a fortune! Just check out the mummy project from last year. Simple elements cane keep things cheap and cute! What are some of your favorite decorations for Halloween?

Friday, June 24, 2011

The Getaway...

I came across this  old barn turned vacation home in the New York Times, and fell in love. This Friday has me dreaming of a getaway, and this place looks perfect! Check out a few images below, and go here for the full slideshow. AMAZING!

SHOP