Thursday, June 30, 2011

Lift Spirits

It is a pretty hot and rainy day here in Florida, and I was swamped with work that made my head spin. At lunch, I ran out to grab some lunch at Fresh Market, and after picking up my new favorite sesame soba noodle salad, I browsed the drink case for some flavored water. On the third shelf down, sitting all by itself, was a drink that caught my eye: Carolina Honey sweet tea by Argo Tea. It was in the cutest glass bottle, although I almost had a heart attack when I saw it was $2.50! But it was too late... after reading the label of black tea, wildflower honey, and hit of lemon, I was suddenly craving sweet tea. Not to mention, the cute honeybee and bright green top had me at hello.

As soon as I opened the bottle, the beautiful smell of the wildflower honey hit me, and I was in heaven. And the tea was perfectly sweet and strong, and gone in no time. After my satisfying lunch, I quickly searched the internet for Argo Teas, and was surprised to find out that they have tea shops in Chicago and New York, aside from selling their loose teas and bottled beverages online and in markets across the country. They are also very passionate about creating a sustainable and earth friendly product and business. What a cool company!


My favorite part was their bottle. I am going to recycle it in my kitchen for something... it is a great shape, and has a large, wide mouth. And you can't beat the lid that reads: TWIST CAP  -   LIFT SPIRIT.


No more dreary day for me. Spirits lifted, indeed!


I was not compensated or asked to write this post. Just sharing something that I love!

Tuesday, June 28, 2011

Last Chance: Win a Walgreens $100 Gift Certificate


Walgreens and BlogHer have teamed up to give away a $100 gift card. Enter by visiting and commenting on Carmen's Blog today, featuring Walgreens sunscreen.  Or check out Forever The Hostess on Facebook for the link too!

This post sponsored by Walgreens and BlogHer. Photo from here.

Monday, June 27, 2011

I Heart Sheridan French

Happy Monday! In case you haven't already checked out the magic that is Sheridan French, at least check out her amazing giveaway that she featured today.

Aside from her cool name and eponymous line of tunics and dresses, she has two precious children, one handsome husband, a chic Texas home, a fabulous wardrobe, and a killer personality. Every day, I read her blog and secretly want to become her best friend... And I love how each of her posts sounds like she IS talking to you in a conversation between friends.

She is so funny and refreshing, and a true inspiration! I love what she brings to the blogging community!! Be sure to check her out, and enter her giveaway for a piece from her line!

Friday, June 24, 2011

The Getaway...

I came across this  old barn turned vacation home in the New York Times, and fell in love. This Friday has me dreaming of a getaway, and this place looks perfect! Check out a few images below, and go here for the full slideshow. AMAZING!

Wednesday, June 22, 2011

Vintage Finds 6.22.2011

The vintage find for this week is this wrought iron plant stand (well, now at least!). I have an addiction to lamps, candlesticks, and anything wrought iron, and when we are going to garage sales, I instantly gravitate towards these things like a moth to a flame. A few months ago, at a garage sale a block from our house, we were picking through the guy's garage when I saw this giant wrought iron leg staring out at me from underneath a sheet. I asked what it was and if it was for sale. The guy told me it was some "stand" that was out of an old Spanish home a block over (aka my neighbor across the street) and he bought it at their garage sale. He would sell it to me for $10.  SOLD!!!

After I made my father-in-law and husband carry it back to our house, I looked at it a little more closely. It was definitely original to the old Spanish house, and probably dates to the early 1900's, if not earlier. I believe it was probably used as a rug or quilt stand. I used a RustOleum clear coat spray on it so that it would not rust outside, and then went to Home Depot to get hanging pots and plants. It is now one of my most favorite things in the back yard.

Monday, June 20, 2011

Win $100 Visa Gift Card from BlogHer & Walgreens


You can still win a $100 VISA Gift Card from BlogHer and Walgreens. Check out BlogHer for this week's chance to win!


Giveaway sponsored by BlogHer and Walgreens, and I was compensated for my participation.

My Dream Wish List

Totally non-food, party OR decor related, but in thinking about summer and wishes for my upcoming 30th birthday in July, I have created a DREAM list of gifts I would want, that is, if money grew on trees. I obsessed with the following:

Starfish Cuff Bracelet, Anthropologie
This bracelet is expensive for what it is, and I can think of lots of other things I would rather have for $198, but as a Florida girl, I just find it so cool. Maybe it will go on super clearance?! Doubtful, but a girl can dream.

Marc Chagall, "Nice et la Cote d'Azur"

Everything by Marc Chagall. The above painting is one of my favorites by him, not only for the rich colors, but whimsical feel, and the topic. I have been to Nice, France on the Blue Coast (Cote d'Azur), and have visited his museum there. While the museum looks pretty modern and plain from the outside, its views are spectacular and his art on the inside is nothing short of heavenly. I would love to own a piece of his work, or even just a signed Lithograph.


The Cartier Tank Francaise Steel Watch with the blue dials. Some people like the little blue boxes... I like little red boxes, specifically if it contained the watch above. This is the watch that women have forever. I know people say that about a Rolex, but I would take the Tank watch any day over that.

iPad, courtesy of Apple
Who doesn't want one of these?! They are so cool, and personally I am foregoing the iPhone for an iPad. I have trouble seeing things anyway, so I like that I could check e-mails and traffic, and play games on a larger scale. Plus, it would minimize my luggage purse a little bit, since I seem to carry my world around with me.

I'm sure I could come up with some more material things to wish for, but truth is, none of us need any of it. For my 30th, all I want are good drinks and good friends, all having a good time. If you have those things, life is good.

Friday, June 17, 2011

How To: Baby Shower Banners

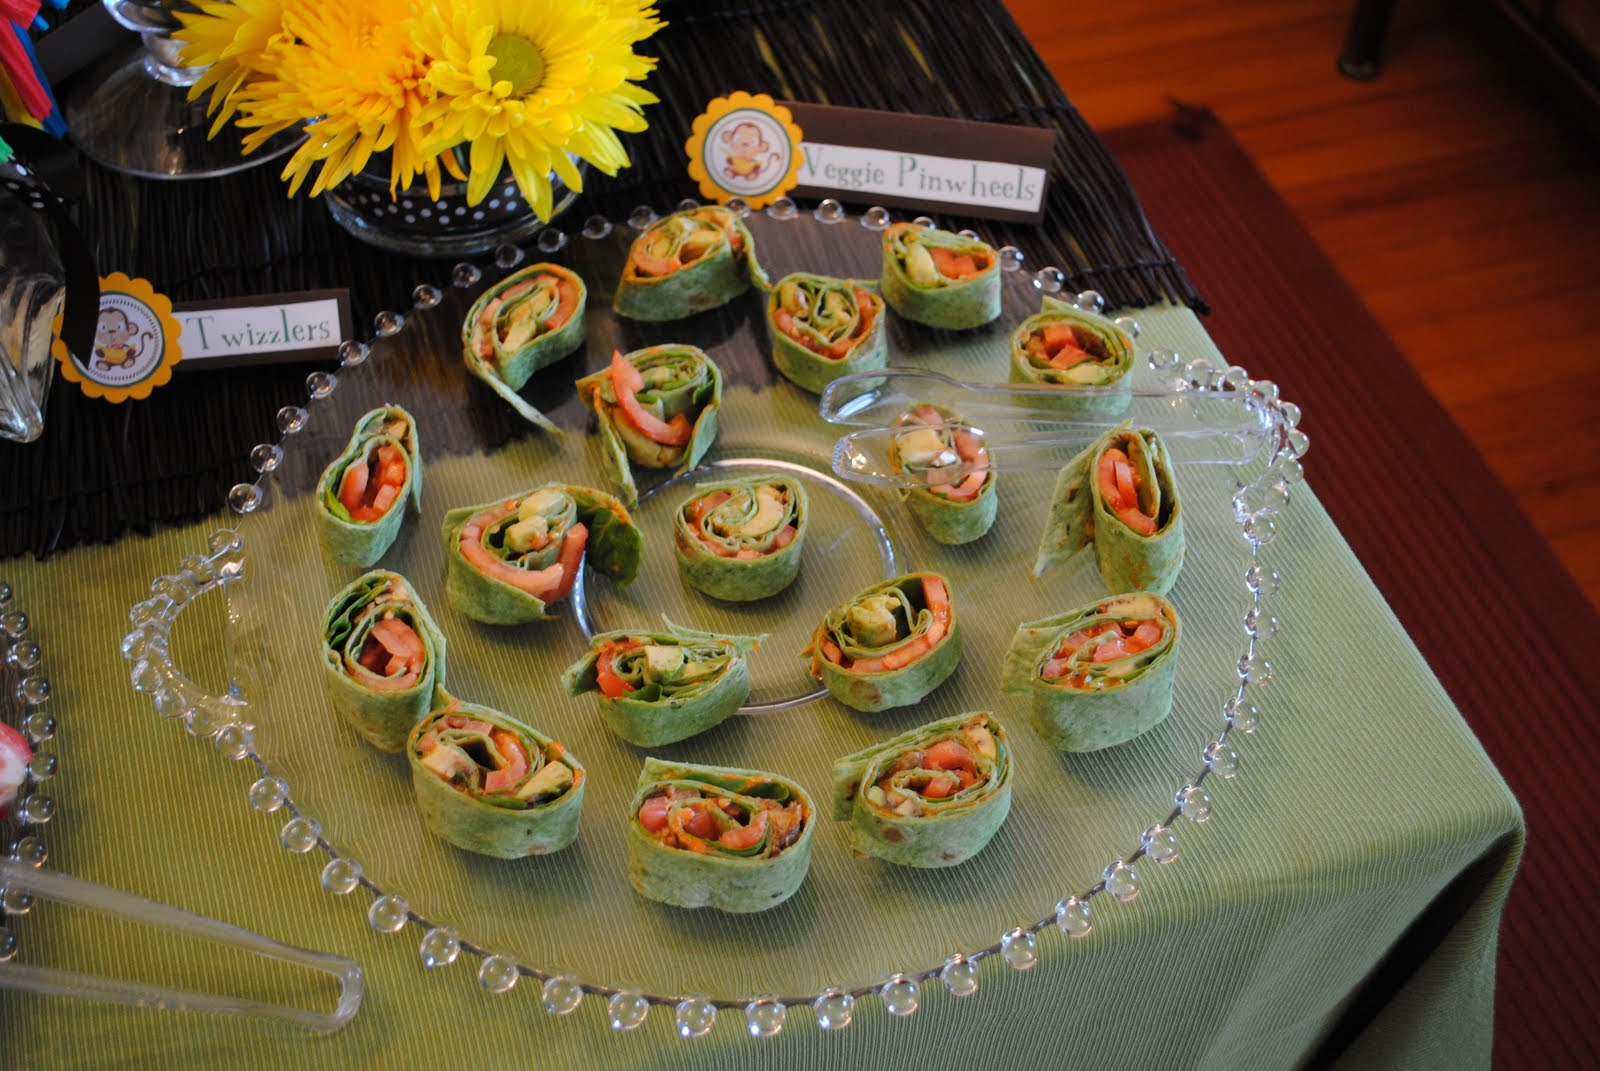
As you remember from the Monkey Baby Shower, I recently made my first set of banner decorations. There are tons of people on Etsy who now make these flag banners, but it is so easy that anyone can do it. No sewing machine required, unless you want to keep them forever and ever. Here is my how-to for 3 banners:

What you will need:
-Ribbon, about 2 spools or 6 yards
-4 Fabric Quarters
-Iron on Hem Tape
-Iron
-Fabric Scissors

First, I went to Michaels and purchased a couple spools of brown & white polka dot ribbon to use on the vases and other decor for the party. With the two leftover spools, I used the ribbon for the top "string" of the banners. I already had some Hem 'N Bond at my house, so I used that to hold everything together.

I also went to Joann's and purchased a few "Fabric Quarters" in coordinating colors. These are the perfect amount of material, and only cost $1.50 each! I took the cardboard out of one of the fabrics and cut a simple equilateral triangle. I just eyeballed it, no measuring necessary, unless you are really anal about it.

Next, I simply doubled the fabric and laid it out on the table, so that I could cut twice as many triangles at a time.I placed the cardboard triangle in the corner, and simply cut along the edge. The thickness of the cardboard serves as a good guide, and a sharp pair of fabric scissors also help a lot.


As you can see from the above photo, it actually was the perfect size triangle because it fit evenly going across the fabric. I did not have any leftover fabric! Continue this until the desired number of triangles are cut. I believe I cut around 30 of each, and I probably used about 20 of each.  At the end, you will have a ton of little triangles:


Notice I also did not iron the fabric before I cut- oops!! Usually this would be good to do, but I cut them pretty evenly, and the polished cotton I was using does not have any stretch, which would cause them to be different sizes after cutting. I just figured I would do all the ironing at once.

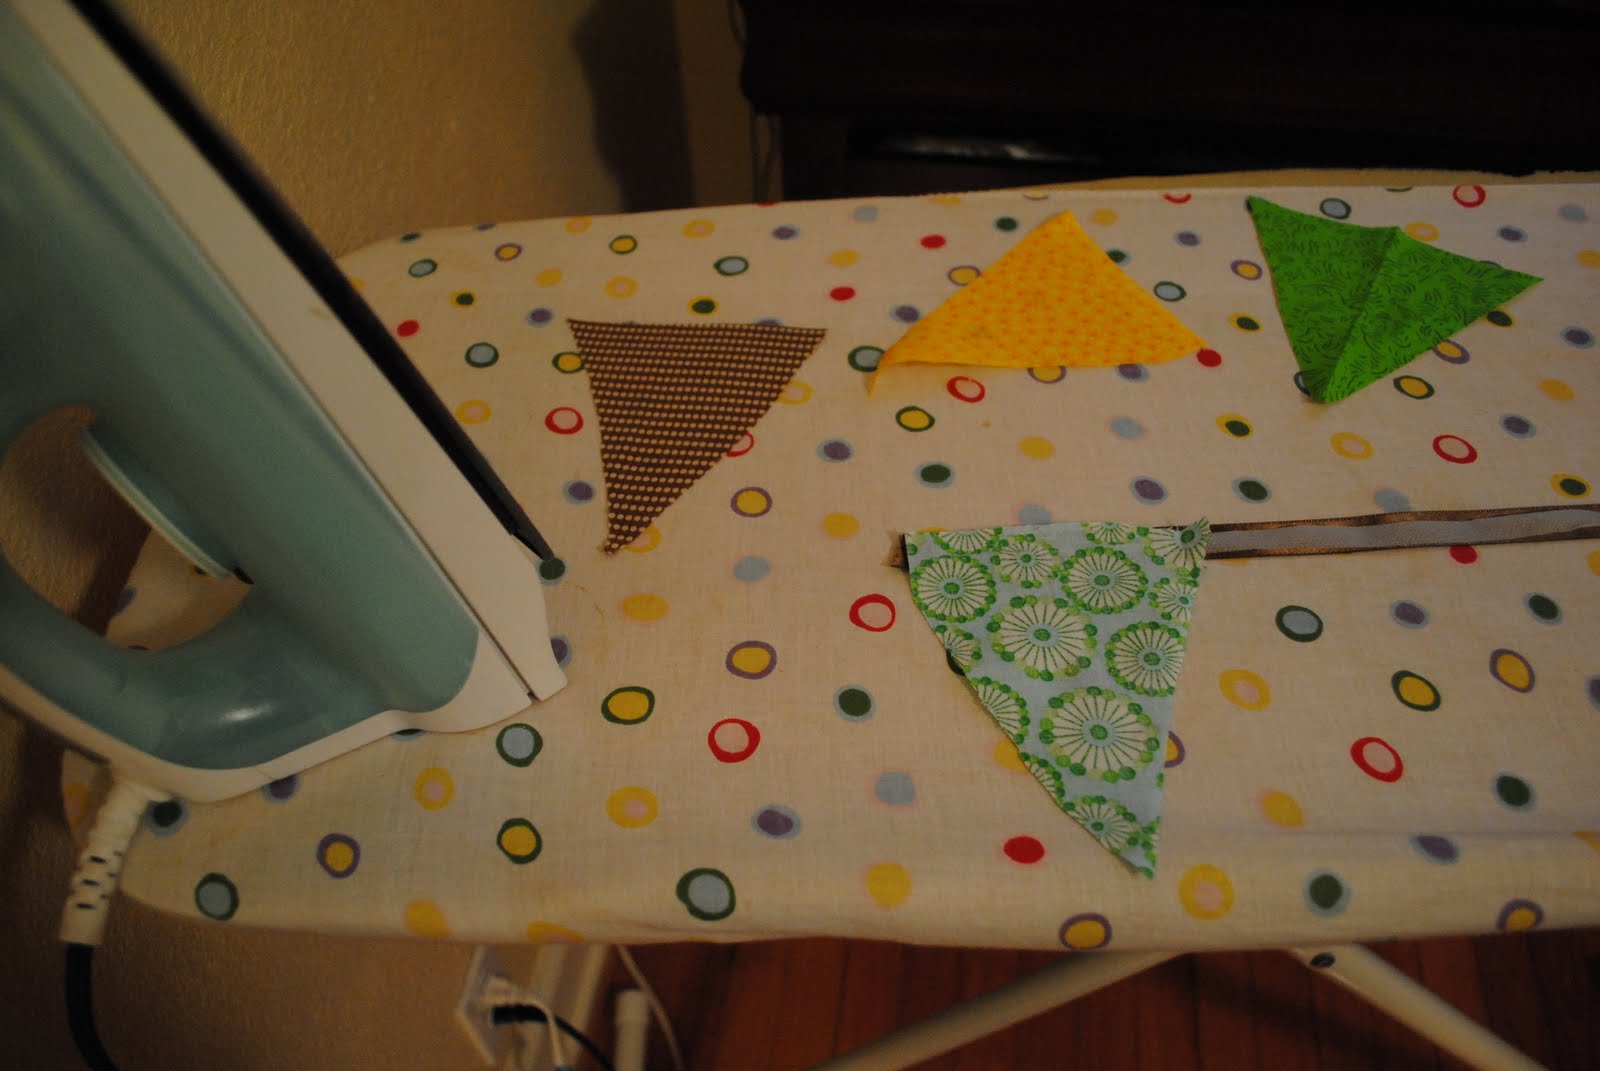
Set your iron for Medium heat, or according to the instructions to the Heat 'N Bond. I have the multi-pack, so it had a thin tape that was smaller than the ribbon. 
I pre-cut the ribbon in desired lengths by first stringing them up on the doors and walls where they would go for the party. Then, I laid the ribbon, polka dot side down, on the ironing board and placed the hem tape on the back of it. The tape is double sided, so DO NOT IRON the hem tape to the ribbon without the triangles on. It will burn the iron and melt the tape.


At this point, before I ironed the hem tape, I quickly ran over the triangles with the iron. (please forgive the dark pictures, as it was 9PM and I didn't feel like adding light just to make the photo better).


After the triangles are individually ironed, take one and starting at one end of the ribbon, place the triangle, pattern side down, along the edge.


Continue to put the triangles along the ribbon, with the hem tape between, alternating colors. Since I had 4 patterns, I would iron after laying out those 4 triangles. 
 Place the iron on each triangle edge for about 10 seconds, or according to the Hem Tape packaging. Be sure to not touch the iron to the hem tape where you have yet to place triangles, as it will melt and you will need a new piece of hem tape.


Continue this until you get to the end of your ribbon piece. If you have a little leftover ribbon at the end, and not enough room for a triangle, simply trim the ribbon. Voila! You have made a banner. Here is a look at mine again (in the living room and in the dining room):


And in the living room (again). They are not perfect, but they literally took me an hour and a half to make all 3. The cutting of the triangles took the most time, and putting it all together is easy peasy.


If you want to get really fancy, you could make them double sided, or actually sew them. But I wanted to keep things quick and simple, and guests didn't really inspect them anyway. I will definitely be using this decor for a party again soon!

Thursday, June 16, 2011

Punch It!

For the Monkey Baby Shower, I wanted to serve a punch that could be for both non-alcoholic for the mommy-to-be, and alcohol-optional for the rest of the guests. In my blog searches, I came across a punch recipe by Eddie Ross that I adapted to make this one. Here's the my recipe:

-One 2-Liter of Fresca
-1 cup of Orange Juice
-Sliced Strawberries
-Sliced Peaches
-Green Seedless Grapes
-Ice
-Champagne (optional), to be poured in later

That's it! So easy, right?! Eddie's recipe used white wine instead of orange juice, mixed with the Fresca and fresh fruit. I have to say that the champagne added to the glass gave it a little pop, but it was the strawberries and peaches that really made the drink. The flavor was so yummy and delicious that even my husband liked the non-alcoholic version! After the guests left, I bottled the rest (without fruit) and kept it in my fridge for a few more days . It was a perfect drink for any summer get together!

Wednesday, June 15, 2011

Vintage Finds 6.15.2011


In time for the full moon tonight, my vintage find this week is a retro telescope that my husband found while digging in a back closet  at an estate sale, and bought it for $10. It is missing a lens (we're currently on the hunt), but I am in love with the original wood adjustable legs and small telescope size. It has filled a little nook in our dining room!

Tuesday, June 14, 2011

Monkey Baby Shower

This past Saturday, I helped host a baby shower for my dear friend Janet, who is due in August to give birth to her son, Max. Since she is doing a monkey theme in the nursery, we decided to have a shower that had a bit of a monkey theme. We kept the colors to yellow, green, and brown, and I used the monkeys sparingly. However, I did make some great banners in the party colors, and they are kind of the grown up versions of vines (which monkey's swing on- get it?). There will be a post later on how-to make the banners. Here is a look at what we put together:

For flowers- I love fresh flowers! Simple is usually best, and can be a great accent to any party decor, even if they are in small bunches. I bought these bunches of mums and daisies at Publix 3 bunches for $12. I love how the white daisies have green centers. I simply put them in clear glass vases and tied the brown and white polka dot ribbon, that we used on the invitations, around them.


For decorations, I made three banners using fabric quarters from Joanns and the brown and white polka-dot ribbon from Michaels. I also used some green glass ornaments to hang on the chandelier to give a pop of green.


Since we wanted to keep things simple, we opted for a dessert shower... lunch is sometimes hard to do with more than 10 people and no where to formally seat them. We had the shower at 1:00PM and served punch with champagne, fruits and veggies, some small veggie wraps, cookie bars and mini cupcakes, banana bread, and a candy bar with Runts, Lemonheads, Twizzlers, and pear, banana, and chocolate flavored saltwater taffy (bonus points for those of you who noticed the "banana" references).


I also used the same monkey clip-art from the invitations and paper punch to create the food and drink labels.


For games, we played "Guess the Baby Food" and "Measure Mommy's Tummy". For the "Measure Mommy's Tummy", I put a little spin on the game to go with the monkey theme. I went and bought two Barrel of Monkeys and the guests has to guess how many monkeys would make up the circumference of her belly. We showed them the length of the first 12 monkeys just for an estimate. She ended up only being 14 monkeys around! And for the baby food game, as expected, we had some unwilling participants who couldn't bring themselves to eat the baby food. I made this sheet for guests to use to write down the ingredients.


And last but not least, I went to a local soap shop, Milagros, to get Milk and Honey soaps for the guests, "From Janet's Shower To Yours". I used the same ribbon to tie little clear bags and I made tags with the paper punch.


Despite a rough morning, we pulled it all together and it was a really nice shower. Janet got most everything she needed to complete her nursery as well. Check back soon for some of the recipes and how-to's on the details!

SHOP